
My enthusiasm about everything 90s
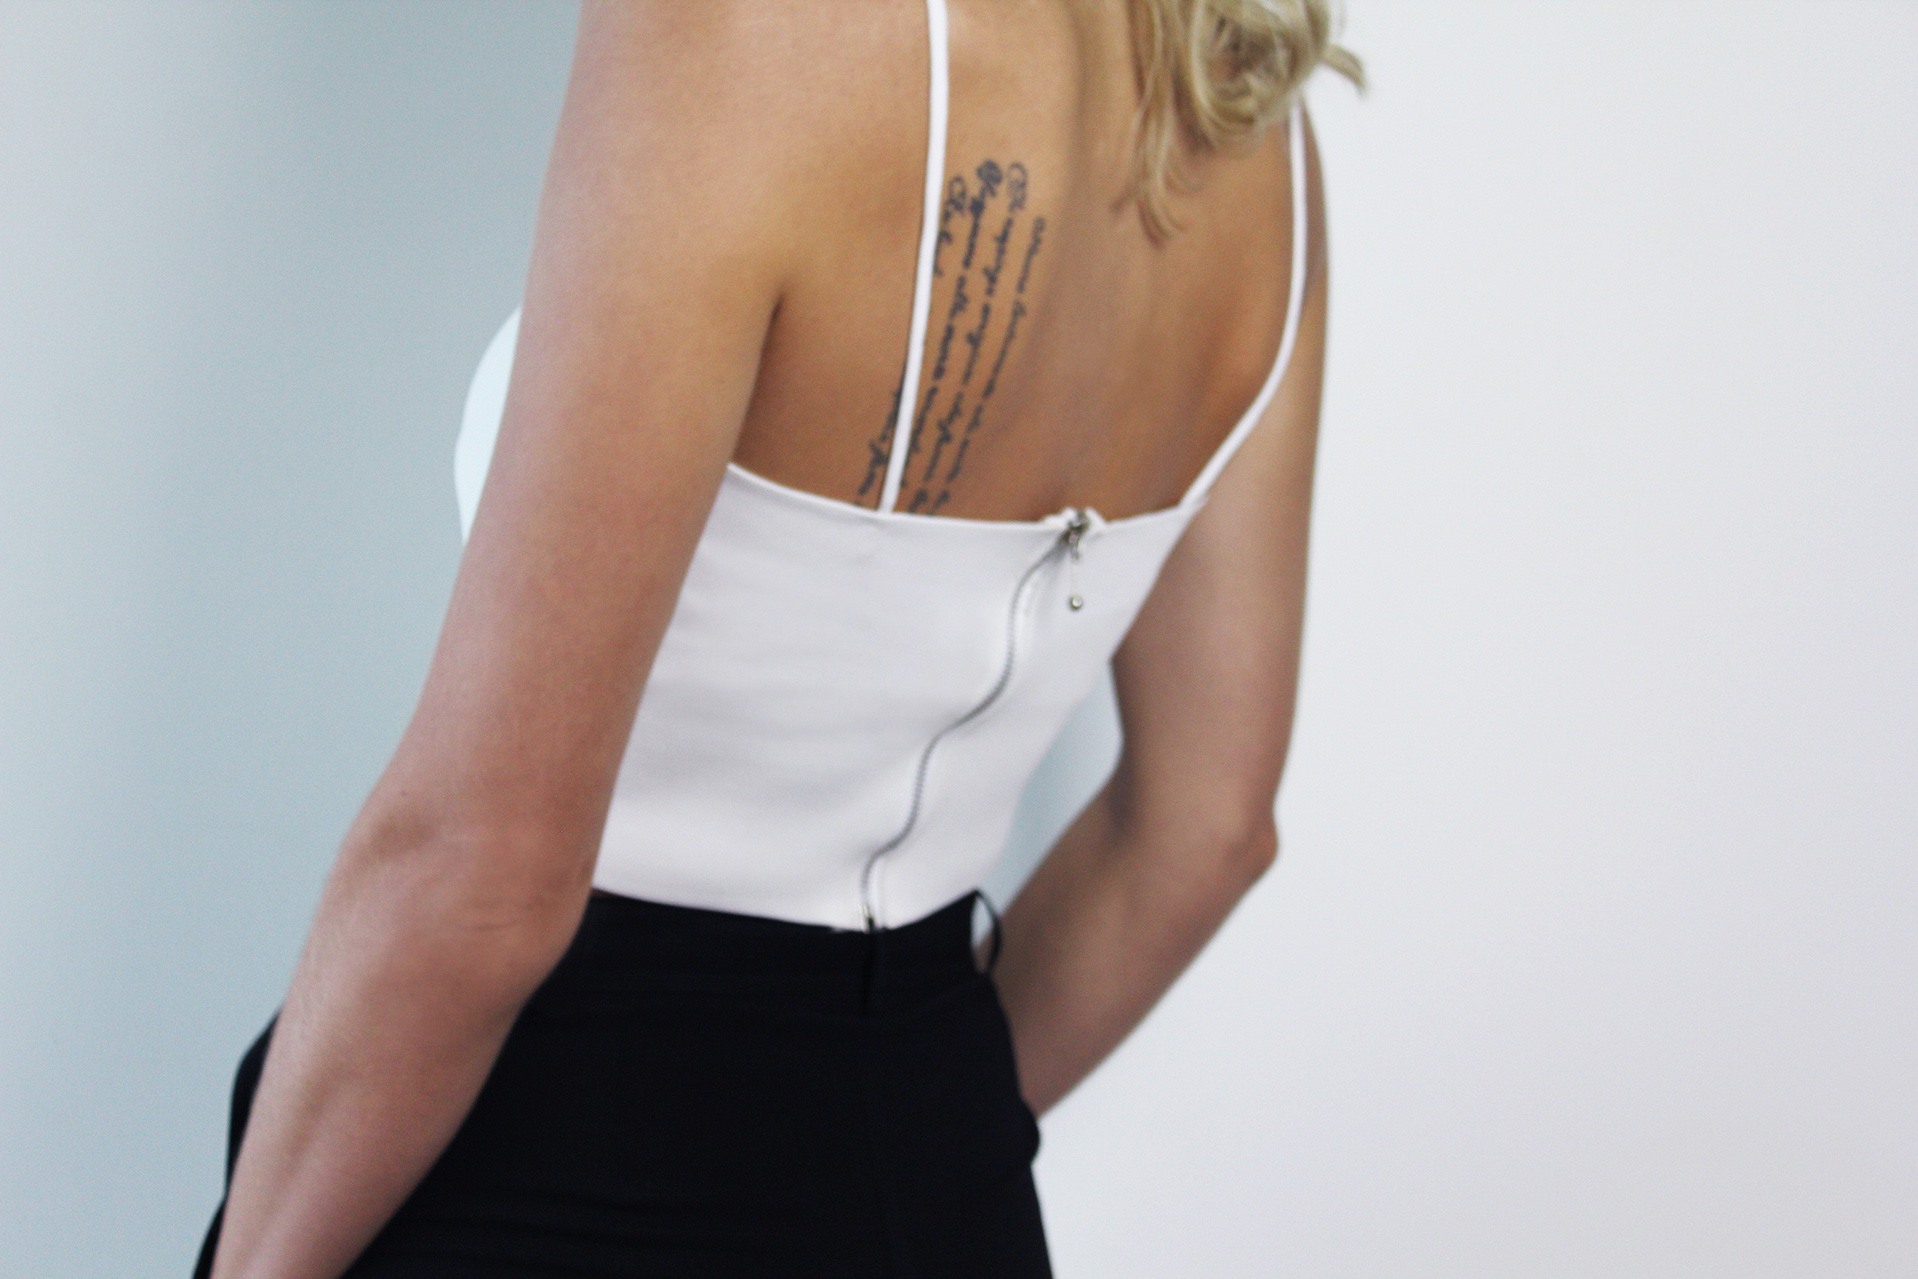
isn't going anywhere. This project is pretty much a reproduction of a top I had when I was 9, minus the Spice Girls print that made it my most prized possession at the time. Obviously Sporty was my favourite.
A firm fabric like a thick jersey or neoprene, I used a double-layer jersey (0.5 m is enough) | Pins | Scissors | Zipper with an open end (the length corresponding to the length you want your ready top to be in the back) | Ribbon (1m) | Thread & sewing machine | Fabric marker
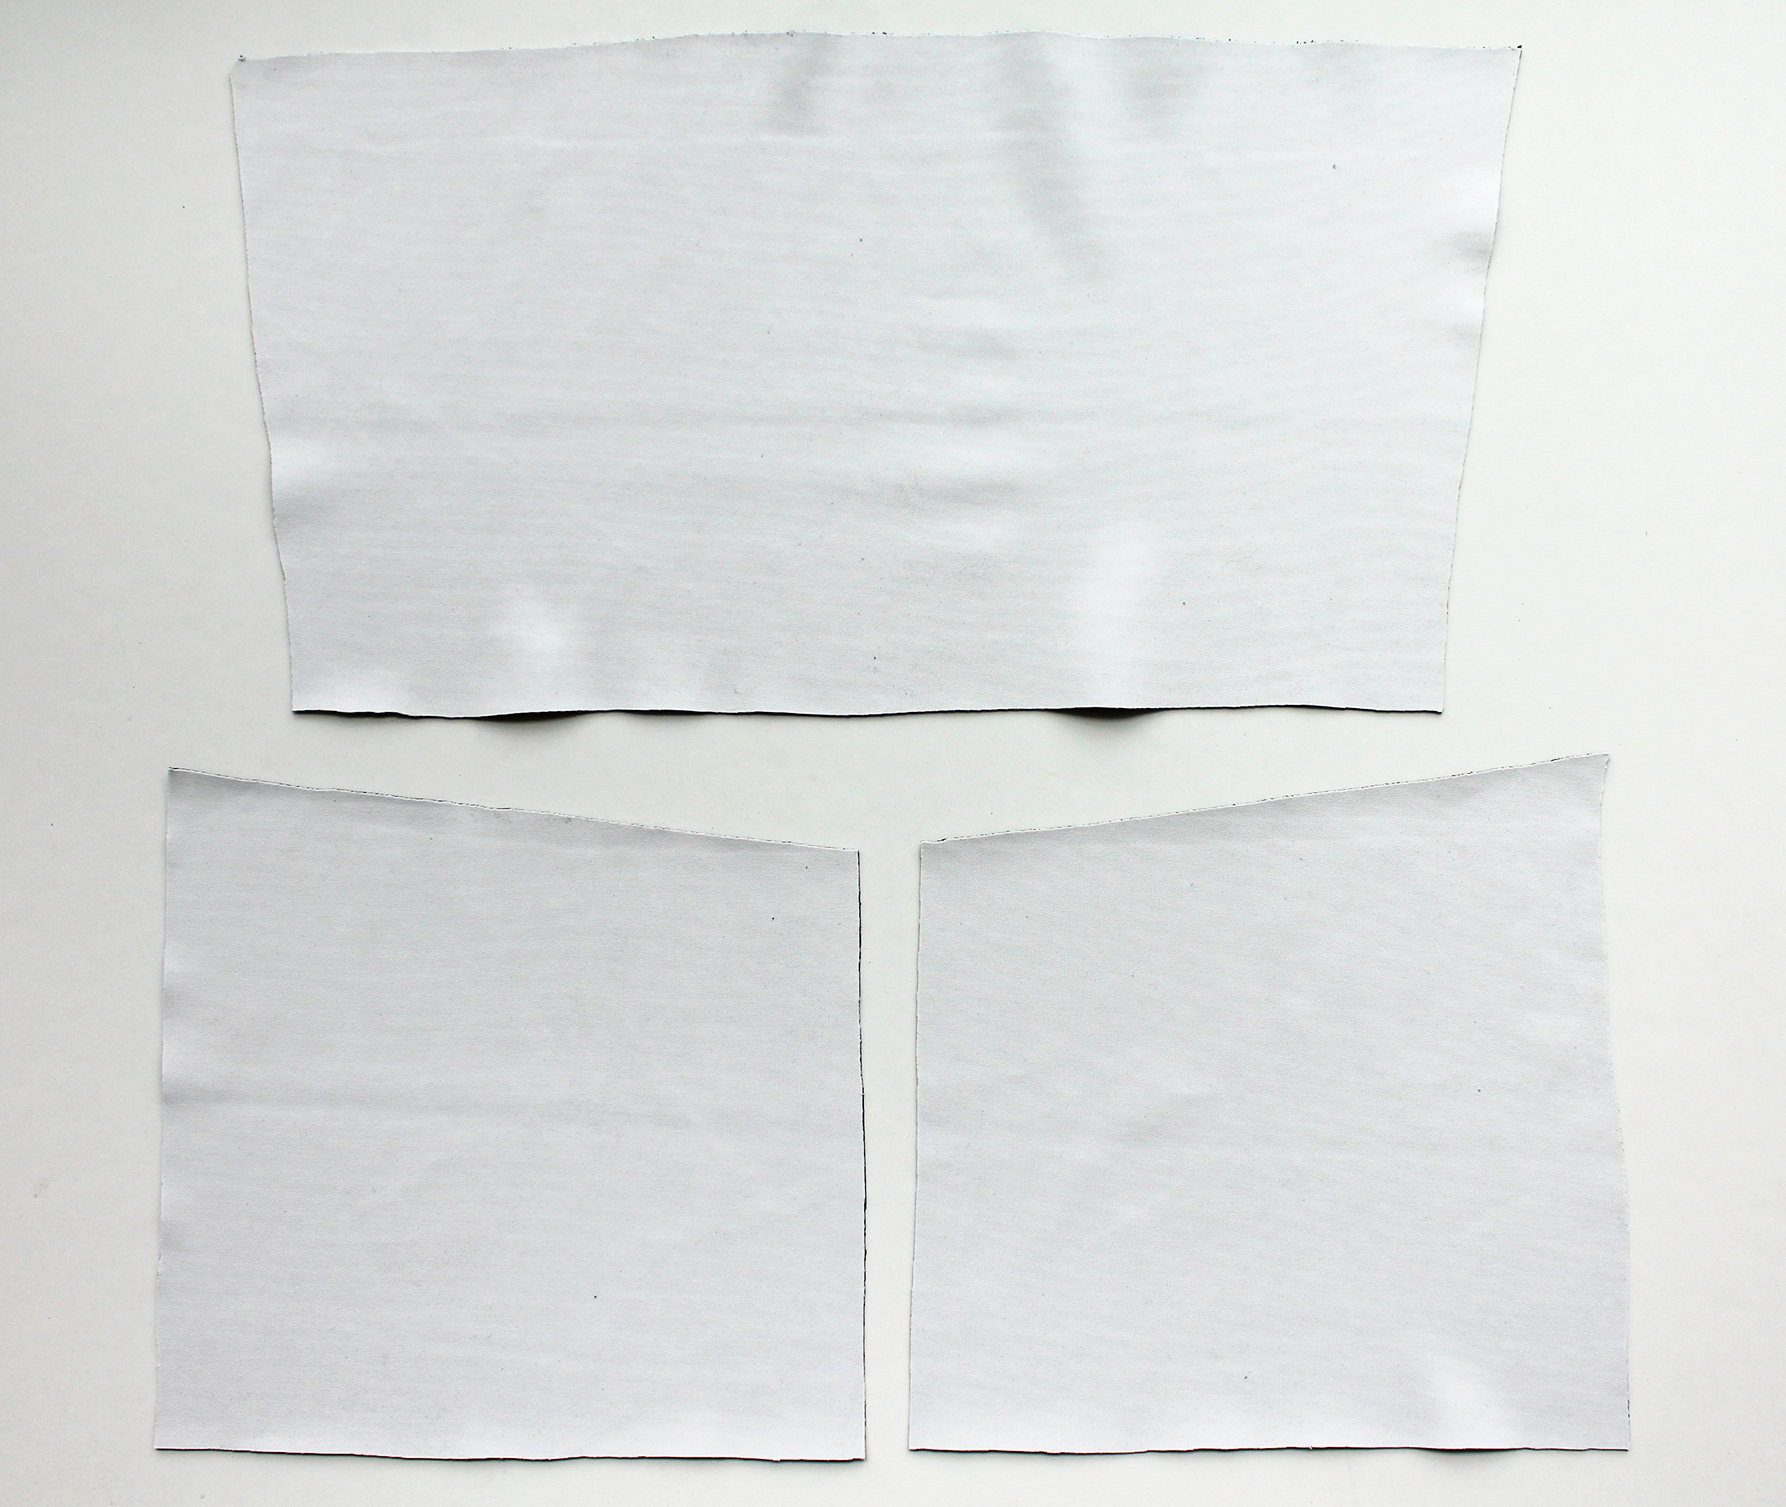
I. Measure your chest circumference at the widest part, divide that by 2, and add about 6 cm to be safe to get the width of your top's front piece. Trace a rectangular piece where the height equals to how short you want the top to be. If you plan on leaving the edges raw, no seam allowance needed, otherwise you may want to add 0.5-1 cm to the top and bottom. Cut out.
II. Trace the back. make another rectangle, only this time use your zipper to measure the height of the piece. As you can see in the image below, I made my back piece slightly angled so the most narrow part is at the center where the zipper will go. Cut out and halve the piece so you end up with 3 pieces total.
III. Time for darts. Even if you aren't significantly endowed, you'll want to add these to get that structured form we're looking for. Mark a spot that's about 2/3 of the height of the front piece. Use your measurement tape or a ruler to create a line from that spot to the opposite corner as shown below. Mark the length of the dart (the bigger the bust, the longer the dart you need). Repeat for the other side.
IV. Now fold as shown below, so your dart mark creates a triangle with the fold. Sew along the marking. I was planning on raw edges but changed my mind at the very end of the project, took my stitches apart and added avery small 0.5 cm fold to the top and bottom of all three pieces. I also cut the slightest V shape on the front piece which you see on the finished top. So if you want finished edges but not to redo half the work, now's the time.
V. Take the two back pieces and iron a fold on the inner edges.
VI. Open the zipper and pin it on each piece, then sew a straight stitch right next to the edge.
VII. Close the zipper and pin the pieces together at the edges (can wear at this point to get the size right). When doing this, make sure the darts you made on the front piece are pointing
upwards. Sew a straight stitch down both sides, trim away excess.
VIII. Last step is attaching the straps. Pin the straps in place at the back, wear the top, and mark the desired length of the straps with pins. Hand-sew in place. Finally, fold the ends of the zipper inside, sew in place, and go be a 90s kid.


xo,
Julia


0 comments:
Post a Comment
I would love to hear what you think and learn about your DIY adventures! If you use one of my tutorials, tag me on social @contour_affair, I'd love to see!